Lastly modified on: Thu, 19th Mar, 2026 at 06:06 PM
Prerequisite
- Naver GFA account
Instructions
Step 1: Getting Advertiser ID
- Go to Naver GFA Website.
- Login to your Naver GFA account.
- Numbers at the end of the URL is the Advertiser ID.
ex) https://gfa.naver.com/adAccount/accounts/1234567?accessAdAccountNo=1234567
Step 2: Connecting Naver GFA to Adriel
- Move to Adriel's Connections page.
- Type “NaverGFA” into the search bar.
- Fill in the Advertiser ID found at step 1. Click “Submit” to proceed.
- Fill in the “Account Name.” Any readable/identifiable name is sufficient. Click “Submit.”
- A new data connection will be created on the [Connected data sources] list with a “Pending” sign.
- As soon as the settings are checked, an invitation to become a member of Adriel account will be sent via email. Click the link attached to the email and finish the acceptance process.
- Email Title: [네이버 성과형 디스플레이 광고] 광고 계정의 멤버로 초대 받았습니다.
- Email Sender(From): gfa_noreply@navercorp.com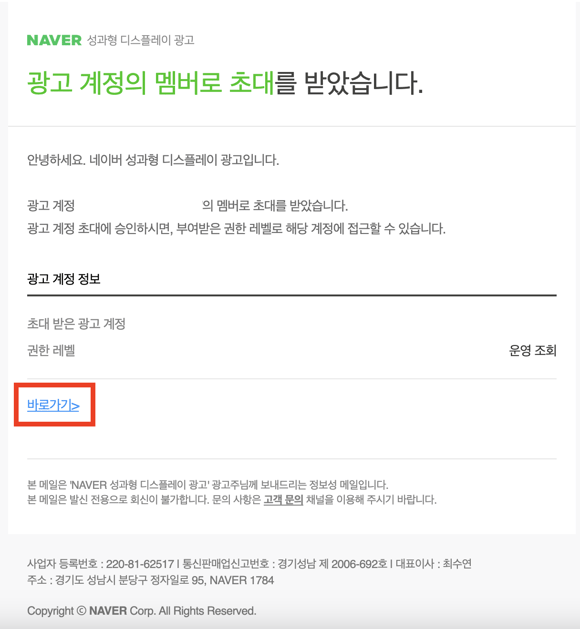
- Accept the administration access to Adriel’s account on the redirected page and complete the connection.
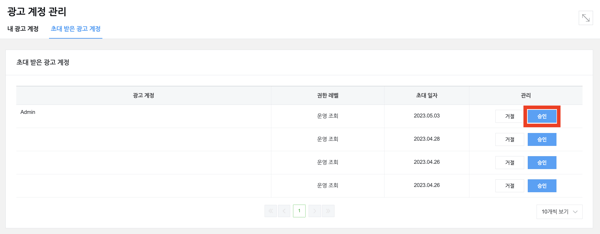
**Recently, invitation e-mails are often not sent from Naver, so there is also a way to directly access the advertising account and approve the invitation to the Adriel account.
[통합 광고주센터]> [설정] > [권한 관리] > 관리 계정 연동 > 연동 요청 중인 관리 계정 > Accept Button click for Adriel Management (Number may vary to 2,3,4,5 etc)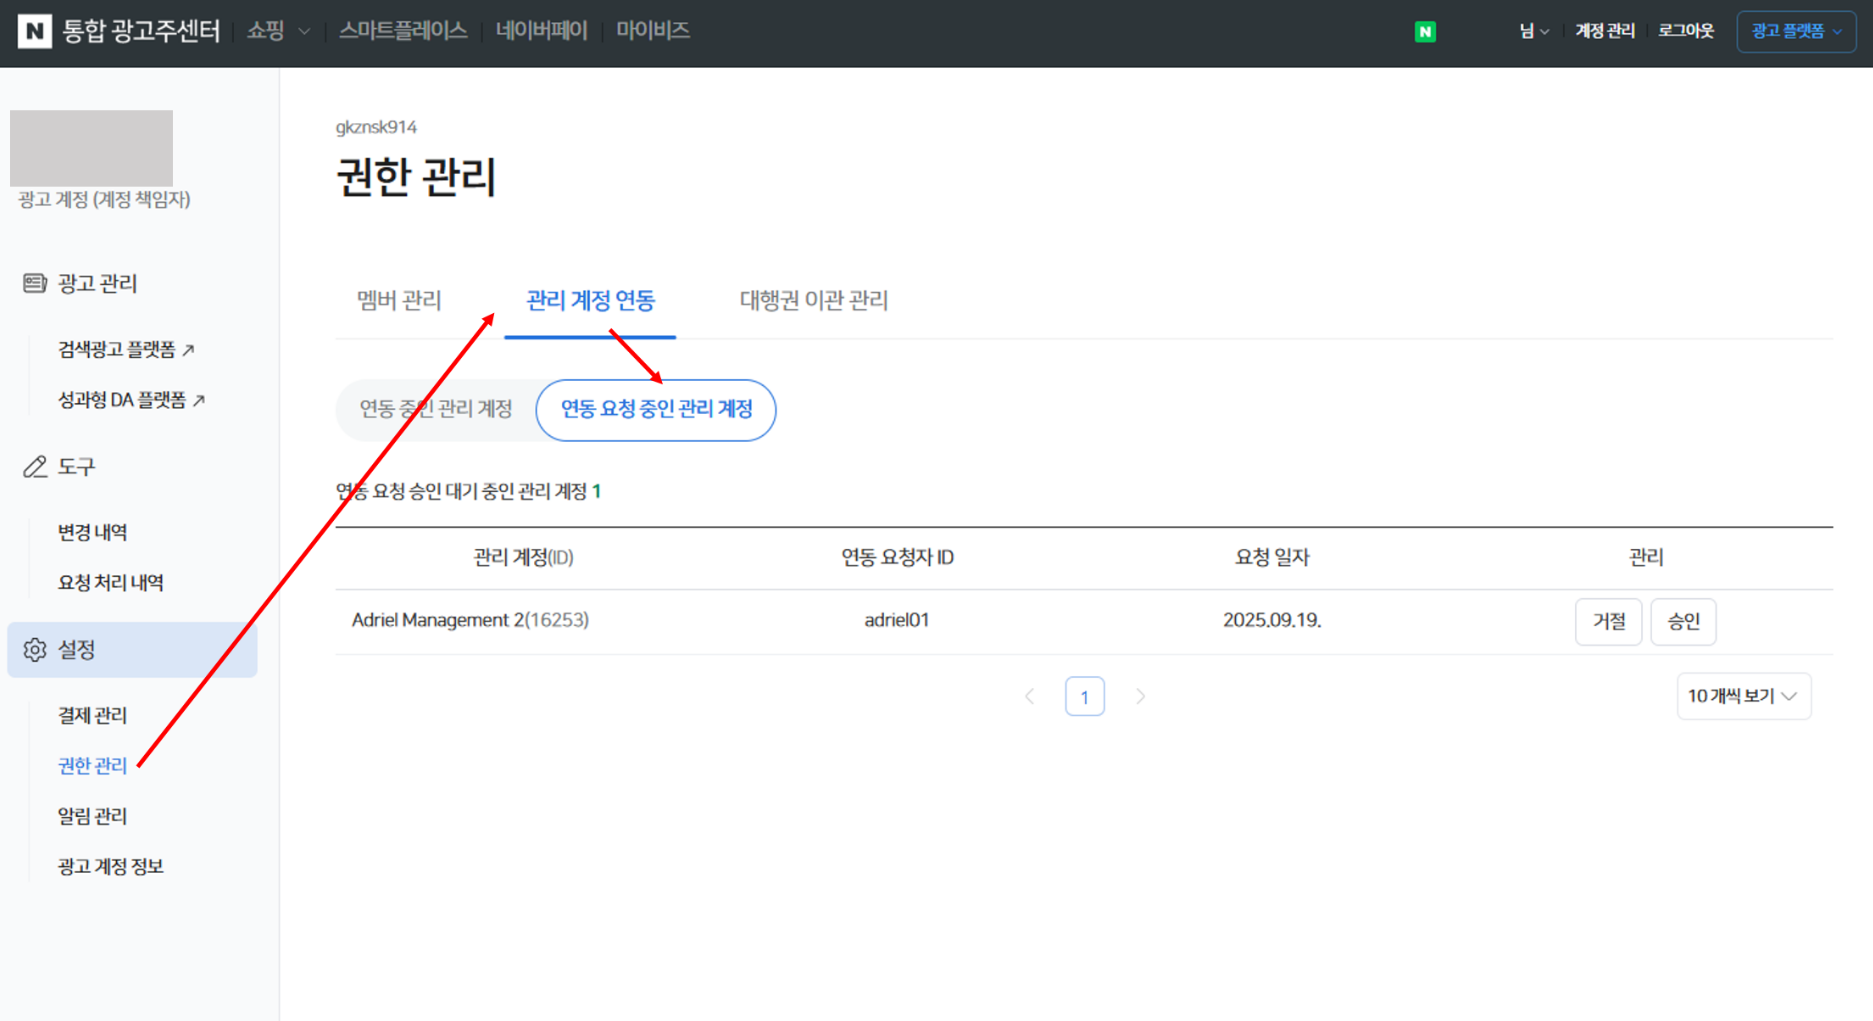
It can take up to one working day for your data to arrive.