How to Invite Team Members to a Workspace
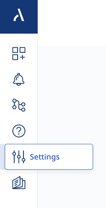
Step 1: After logging into Adriel, access the "Settings" icon found in the left-hand navigation bar.
Step 2: Within the "Workspace" section, select "Invite a Member."
Note: If managing multiple workspaces, you can switch the workspace using the "Workspace" dropdown menu before sending the invitation.
.png?width=460&height=256&name=Screenshot%202023-12-27%20at%202-18-38%20PM-png%20(1).png)
Step 3: Enter the member's email address and designate their suitable role:
Role Types:
Admin: Grants access to view and edit campaigns, modify payment methods, and manage team members.
View & Edit: Provides access to view and edit campaigns.
View Only: Limits access to exclusively viewing campaigns.
To access a comprehensive breakdown of roles and permissions, please view this article.
Note: Optionally, you can create a Team name to group members according to your preferences.
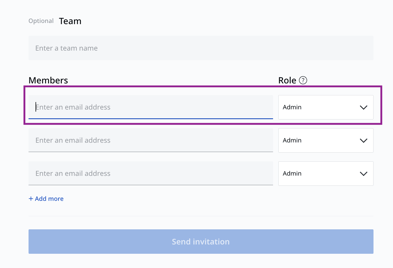
Step 4: After entering team members' information and setting their appropriate permission level, click "send invitation." A confirmation banner will slide out from the bottom-right side of the screen, confirming the action's completion.
![]()
How to Edit Data Sources Permissions
In Adriel, you have the flexibility to modify permissions for individuals or teams concerning specific data sources. To adjust access levels for Data Sources in Adriel, follow these steps:
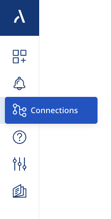
Step 1: Locate the "Connections" icon on the left-hand navigation bar.
Step 2: By default, each data source grants visibility access to all users. Navigate to the desired data source and click on the gear-shaped "settings" icon at the far right.

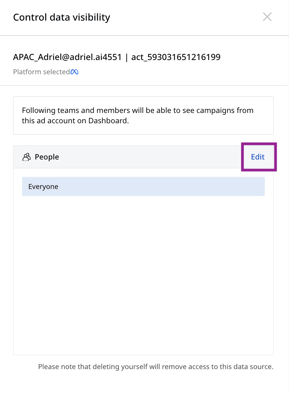
Step 3: Choose "edit."
Note: Removing yourself will revoke access to this data source.
Step 4: In this section, deselect users or teams you wish to restrict from accessing this data source by unchecking the corresponding box next to their name or team name.
Note: Members not affiliated with a specific "Team" will appear under "Non-Team Members."
Step 5: Once finished, select "Update."
How to Edit Access for Dashboard Folders
To adjust access levels for Dashboard Folders in Adriel, follow these steps:
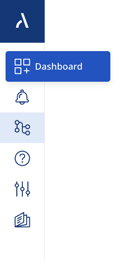
Step 1: Find and click on the "Dashboard" icon located in the left-hand navigation bar.
Step 2: By default, every folder provides data visibility access to all users. Navigate to the specific folder you wish to modify and hover over its name to reveal three vertical dots at the far right.
![]()
Step 3: Click on "Settings."

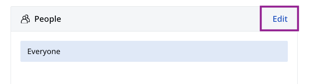
Step 4: On the right-hand side, the "Folder Settings" Panel will appear. Select for "Edit" to adjust the permission levels linked to this folder.
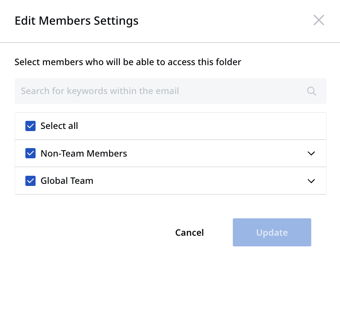
Step 5: Within this section, deselect users or teams you prefer not to grant access to by unchecking the respective box next to their name or team name.
Note: Any members not housed within a "Team" will be found within "Non-Team Members."

Step 6: Once done, click "Update."
If you require additional help with user permissions, please contact Adriel Support in the chat box.